GAME NAVIGATOR
Narrative & Army Lists
Deployment
Turn 1
Turn 2
Turn 3
Turn 4
***
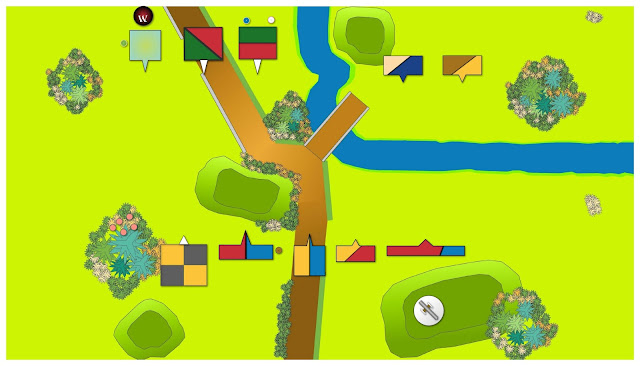
I started curating the images I had taken for the report, when I thought "how about I make one of those handy map things with the arrows and whatnot that they used to put in White Dwarf battle reports?"
So I did.
What I had not appreciated, however, was how much easier it is to levitate an x-wing out of a swamp using only my mind and two fingers than it is to make the assets necessary to make a battle report work.
But.
I stayed the course.
And, whilst I realise there are some minor scale issues with the map, the fact is, the thing will work to support the descriptions of what actually happened. I also had occasion to look at the early reports, and - I hate to break the magic for you - they're actually not all that great. They really are 'purely functional +1'.
That's not a criticism, by the way. Having attempted this in 2021 with, y'know, modern software, I can only imagine how much more frustrating it must have been in 1993.
Anyway, enough bleating.
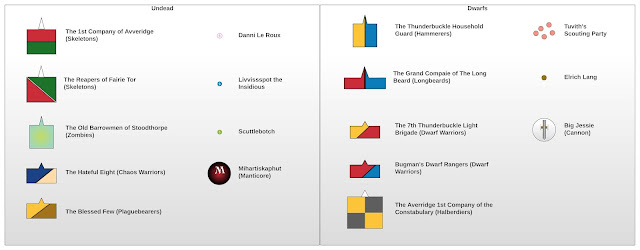
We begin with a legend:
The glorious, glorious map:
And pictures. Because this isn't a White Dwarf.
And I'm not limited for print space.
I am limited in memory and cogent thinking however, so please accept my sincere apologies for leaving the army books and the tape measures and so on in the shot. Also, no Bob Ross inspired watercolour backgrounds. You'll have to make do with our playroom, the view out the window and various crotch level shots.
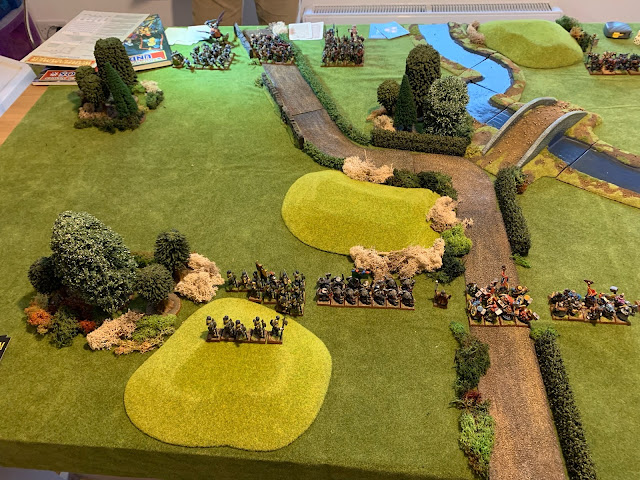 |
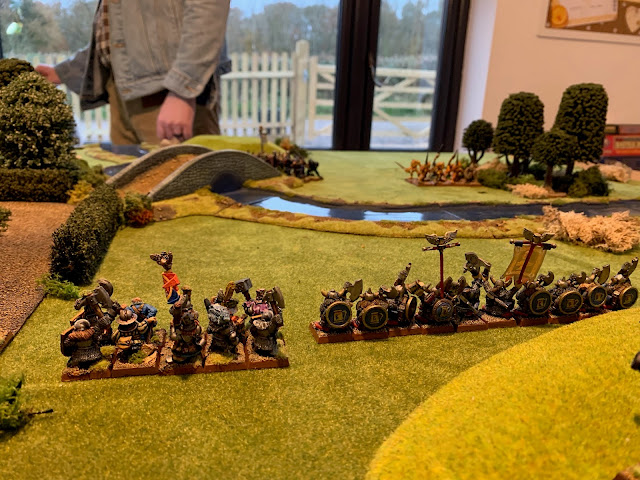
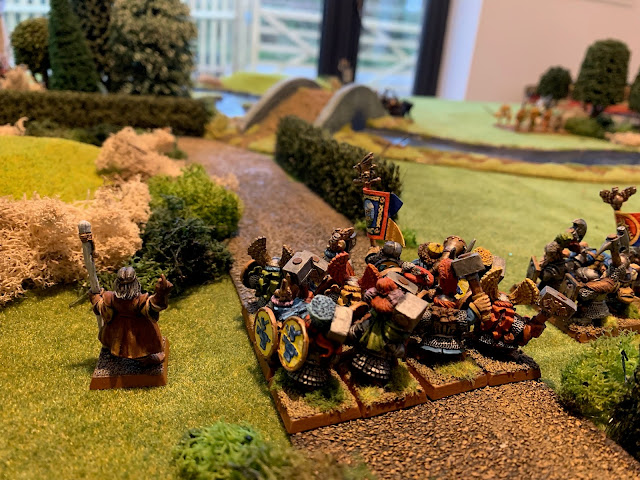
| The left side of the Dwarf/Imperial line. |
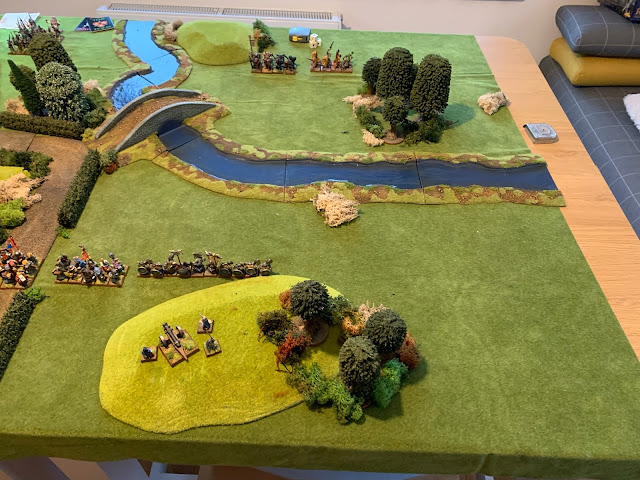 |
| And the right hand side. |
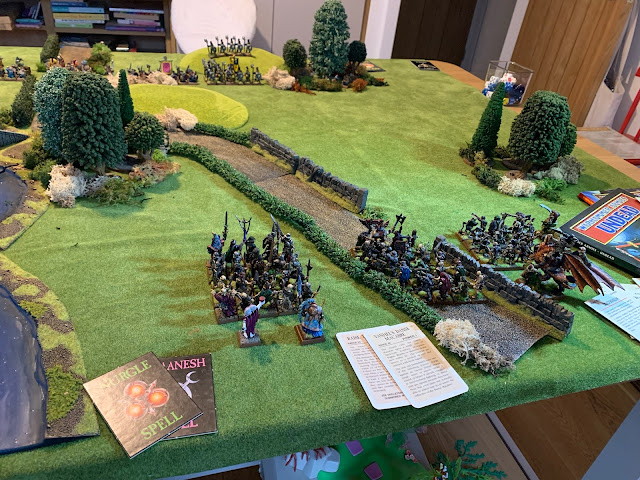
 | |
| The left side of the Undead/Chaos line. |
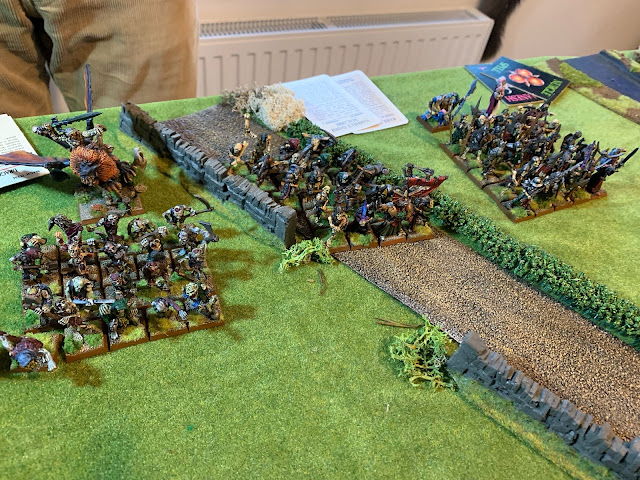
 |
| Surprise! The right hand side. |
 |
| Skeletons and Zombies under the watchful eyes of Mihartiskaphut on his manticore! |
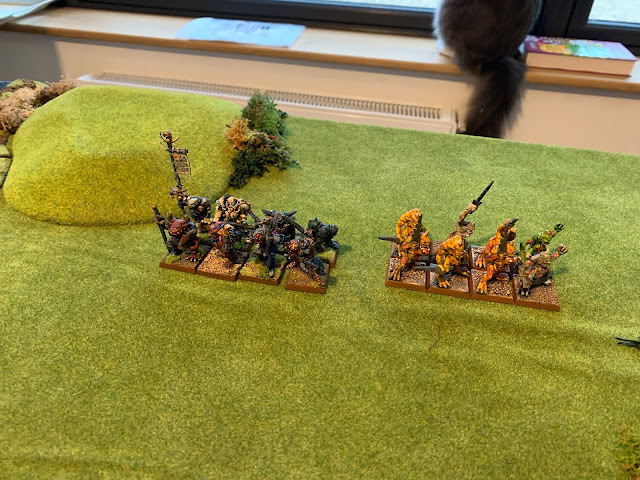 |
| The forces of Nurgle. |
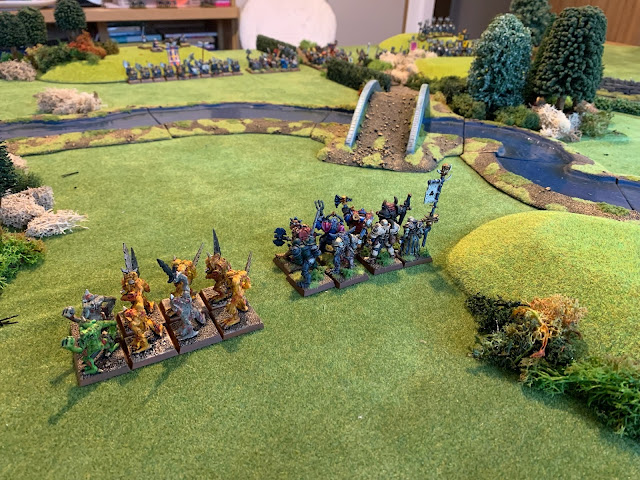 |
| ...who find themselves in target-rich environment. |
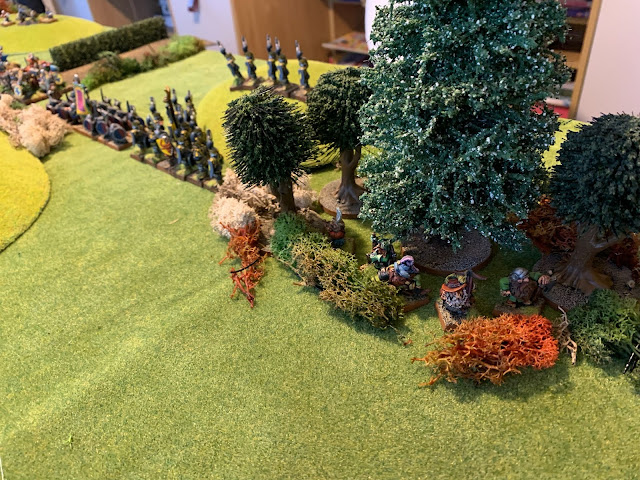 |
| Tuvith and his dwarf rangers hiding in the forest. |
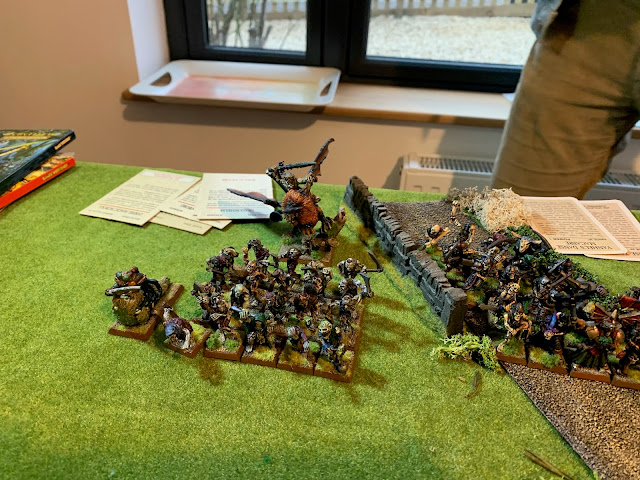 |
| Scuttlebotch and Mihartiskaphut anchoring the end of the Undead line. |
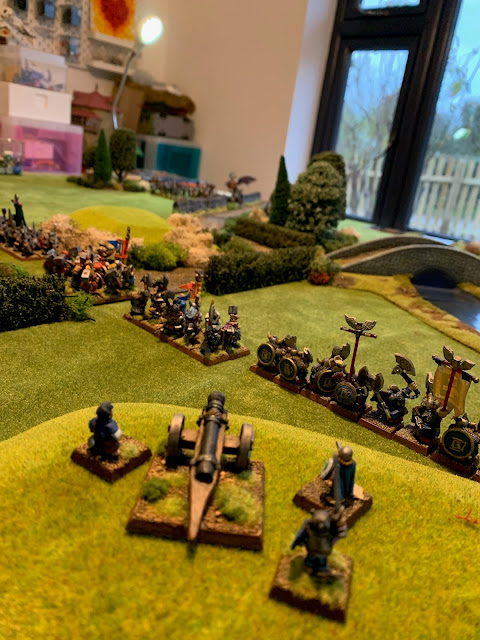 |
| It IS a large target! |
Fortunately, now that I have the assets to describe the story, we should get underway with the actual battle shortly!
See you next time!
GAME NAVIGATOR
Narrative & Army Lists
Deployment
Turn 1
Turn 2
Turn 3
Turn 4
***


This comment has been removed by a blog administrator.
ReplyDeleteGreat looking setup. One minor critique for the unit assets. If each army has a consistent style (all have a bit of the same colour OR all are split on the diagonal (other side split on the vertical/horizontal) it'd be much easier for the casual viewer to understand which unit belongs to which army.
ReplyDeleteGreat to see you back! Good to see all the troops in battle array; looking forward to the battle itself
ReplyDeleteGreat looking game
ReplyDelete